Tuesday 30 November 2010

Visit to Turkish hornbow bowyer Cem Donmez Sept. 2010

In September 2010 I visited Turkey's famous bowyer Cem Donmez, who lives in Izmir. We planned this shoot all year so I was really excited to shoot his bows and try my flight arrows. When you enter his workshop you see loads of buffalo horn, wood cut or uncut, sinew and hornbows finished or unfinished in various stages, hung to dry for example.


We talked, brainstormed and shot the whole day. It is such a pleasure to be under enthusiasts with the same/similar interest. The day is not enough and at the end you think ''but there was so much more we wanted to talk about..''
Below you will see some pictures from the shoot, also a picture from 2 flight arrows, one tarzı has, one şem endam. The şem endam's flight was very good, very straight and fast. Cem also made a copy of his own historical flight arrow, this one had a perfect flight as well. This time I didnt use a typical mushamma but used the cloth I use to wax my arrows. I could 'sculpt' it better around the grip and in my palm. Cem has prepared a new puta bow, he measured it a week before and it was more than 100 lbs at 28''. He also had another bow at around 75lbs. Note that these arent flight bows.

We made similar experiences as last year. Correct arrows are very important. We have seen that 3 arrows out of 8 go straight without the slightest visible fishtailing, other arrows' flight were not stable. Also sometimes I didnt raise the arrow/bow high enough it seems. Also on some shots I didnt pull the arrow far enough in the siper. What I did though was this 'English longbow style' pushing the bow forward while shooting. I am not sure if it helps that much or if it is historically correct in the Ottoman style of flight shooting. I couldnt find any sources for this in the literature. (more information on the Turkish overdraw ''siper'')

Cem strung the strong bow a week beforehand and when I arrived it lost already power. I guess the hot weather contributed to that as well. In the end the strong bow was only about 75 pounds. Regarding the distance we could not exceed 310m even with the siper. Still it was very valuable for both of us, as I could shoot hornbows with siper and flight arrows and Cem could see the performance and characteristics of his bows when used.

Gokmen Altinkulp
gokmenaltinkulp@gmail.com
twitter.com/gokmenaltinkulp

 Cem Donmez's workshop
Hornbow with 'tepelik' getting ready to be strung
Turkish flight arrows replica
 Checking the position of the overdraw with the Turkish bow


Tuesday 9 November 2010

Tribute to Necmeddin Okyay

Necmeddin Okyay, (1883-1976) was was born in Uskudar/Istanbul died at the age of 93, may he rest in peace. He is a  role model for me and many others not only for his deeds in Turkish archery but also with his character. He earns big respect as a true Ottoman.

He was one of the last famous Turkish bowyers/archers. He took the name 'Okyay'. Ok means arrow, yay means bow in Turkish.  Imagine his devotion to archery. He learned archery from Seyfeddin Efendi, the archery teacher of Sultan Abdul Aziz (reigned 1861-1876). Later he was even allowed to use and repair the archery equipment in the Military Museum Istanbul.
Necmettin Okyay inspecting a Turkish bow


Necmeddin Okyay with a Turkish bow

Famous picture where he demonstrates the full draw with a siper and according grip

He spent much time and effort to teach and promote this wonderful style of archery and our heritage. So today our group is not even the first group to revive Turkish archery. The first was founded in the 1930ies and fostered and encouraged by Mustafa Kemal Ataturk and was called 'Okspor'. Necmeddin Okyay had students and taught them a lot of things about Ottoman archery and Turkish bows. Today no student lives anymore and it seems nobody of these passed their knowledge on. So sadly the line was broken and today we can only research books.

Okspor picture (Name of archer: Betul Or)

Necmeddin Okyay with fellow archers

What distinguishes Necmeddin particularly is that he researched, practiced and taught the old Turkish arts like calligraphy, rose cultivating, ebru (Turkish paper marbling), archery and some more. That is why he earned the title 'Hezarfen= person of 1000 sciences. For every art or science he had the best teachers of the Ottomans and he never stopped learning.

Not only was he of utmost importance for the archers but also many other groups e.g. The Ebru makers. He has been an ''ebru'' master (Turkish paper marbling- http://www.muslimheritage.com/topics/default.cfm?ArticleID=530). He developed a new style and technique which gained huge popularity.

Floral Ebru by Necmettin Okyay

Necmeddin Okyay showing Ottoman Calligraphy


He grew roses as well. He had about 400 species of roses in his garden of which he knew all the latin names.
Last year archer friends in Turkey tried to find his house in Istanbul/Uskudar in Toygar Street, which is said to contain many many bows and archery treasures. Unfortunately our friends discovered that the original Ottoman house was demolished and a new apartment was build at its place.

You might think what has ebru, calligraphy, rose cultivation, poetry and archery in common. Looking closely at Ottoman museum bows gives us an idea. Such a deadly weapon, but on it you can see floral designs in lively colours with gold applications. Beauty and power goes hand in hand, and both aspects are perfect and complement each other..


Gokmen
gokmenaltinkulp@gmail.com
http://twitter.com/GokmenAltinkulp


Wednesday 13 October 2010

Making a thumbring that fits

The thumbring has been an integral piece of equipment of the Central Asian archery school. It is called 'zehgir' (Persian), 'shast' or 'okçu yüzüğü' (Turkish). Among others, horsearchers and archers of these cultures used it in various forms: Ottoman Turks, Seljuk Turks, Mongols, Persians, Tatars, Mameluks, Mughals, Romans, Koreans and Chinese.

Iranian thumbring 17-18 cc, jade


Advantages
The reasons are evident. As a first reason usually the fingerpinch is stated, which occurs with small bows the horsearchers use. Why did the Chinese/Manchu, for example, use the thumbdraw and thumbring? Their bows are relatively big. And what about the Japanese thumbdraw and their Yumi?

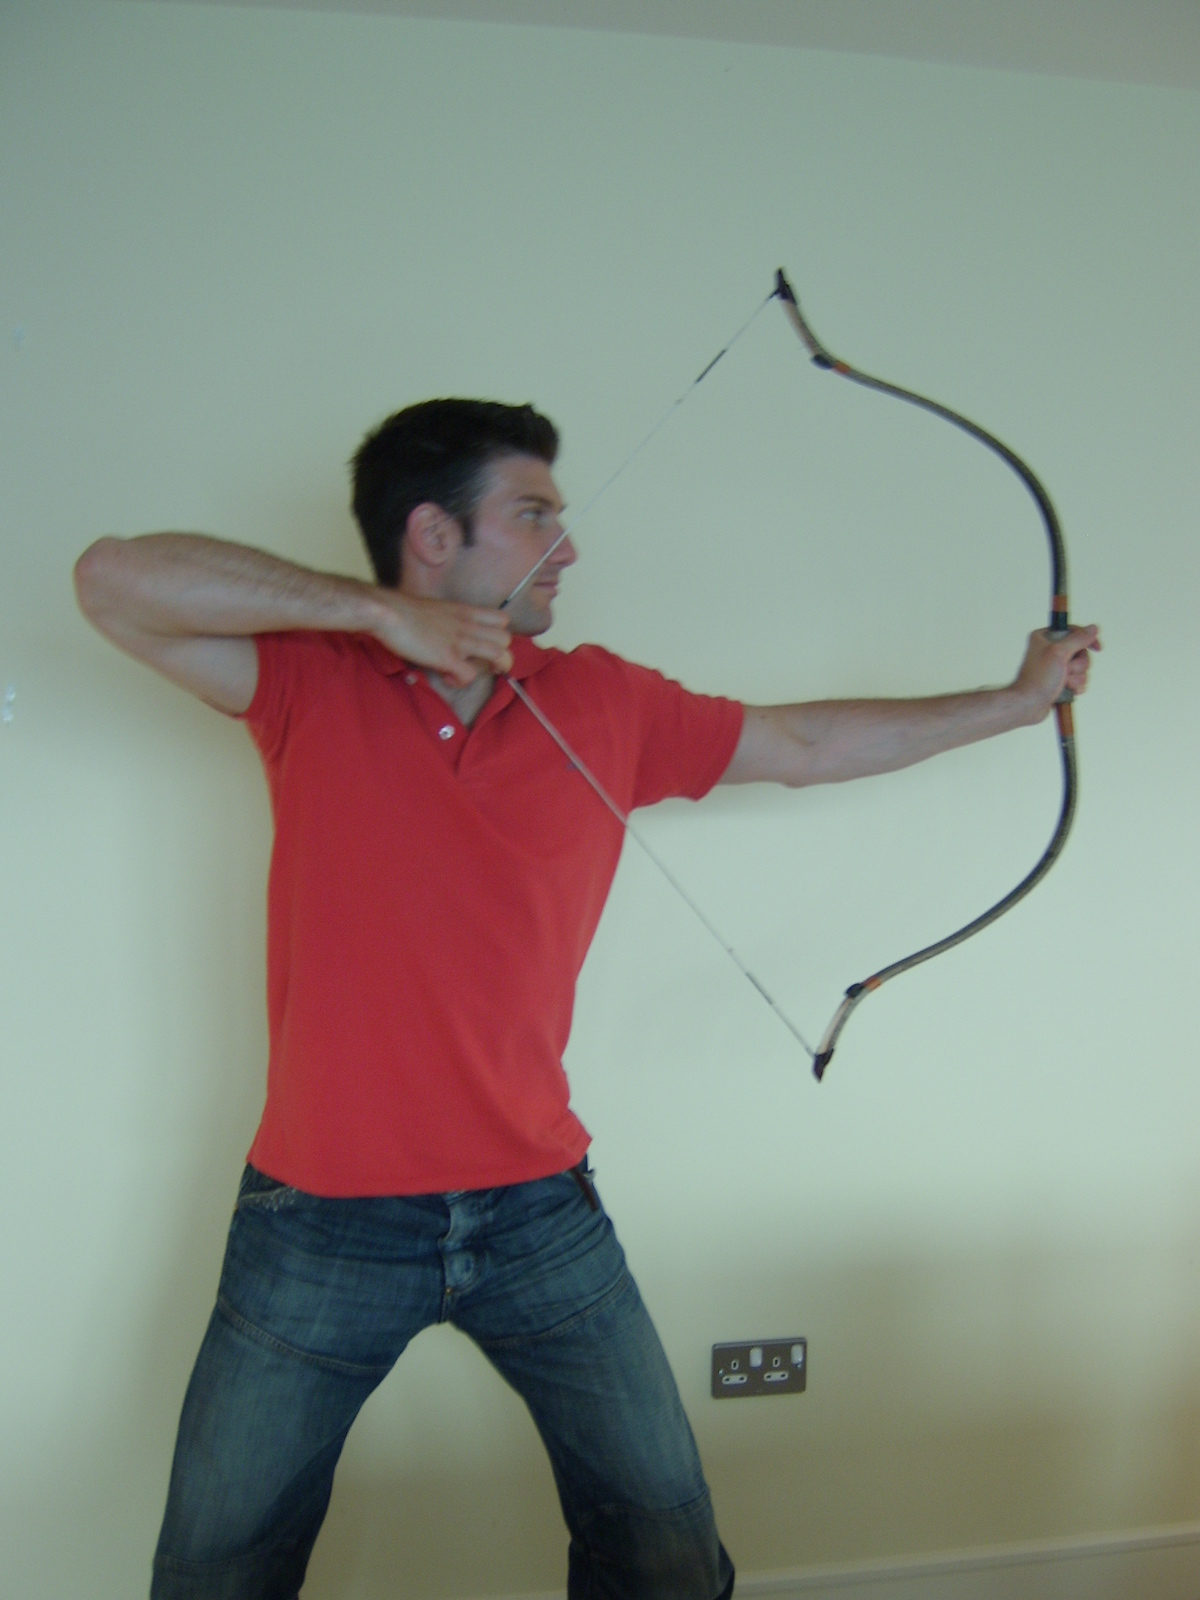
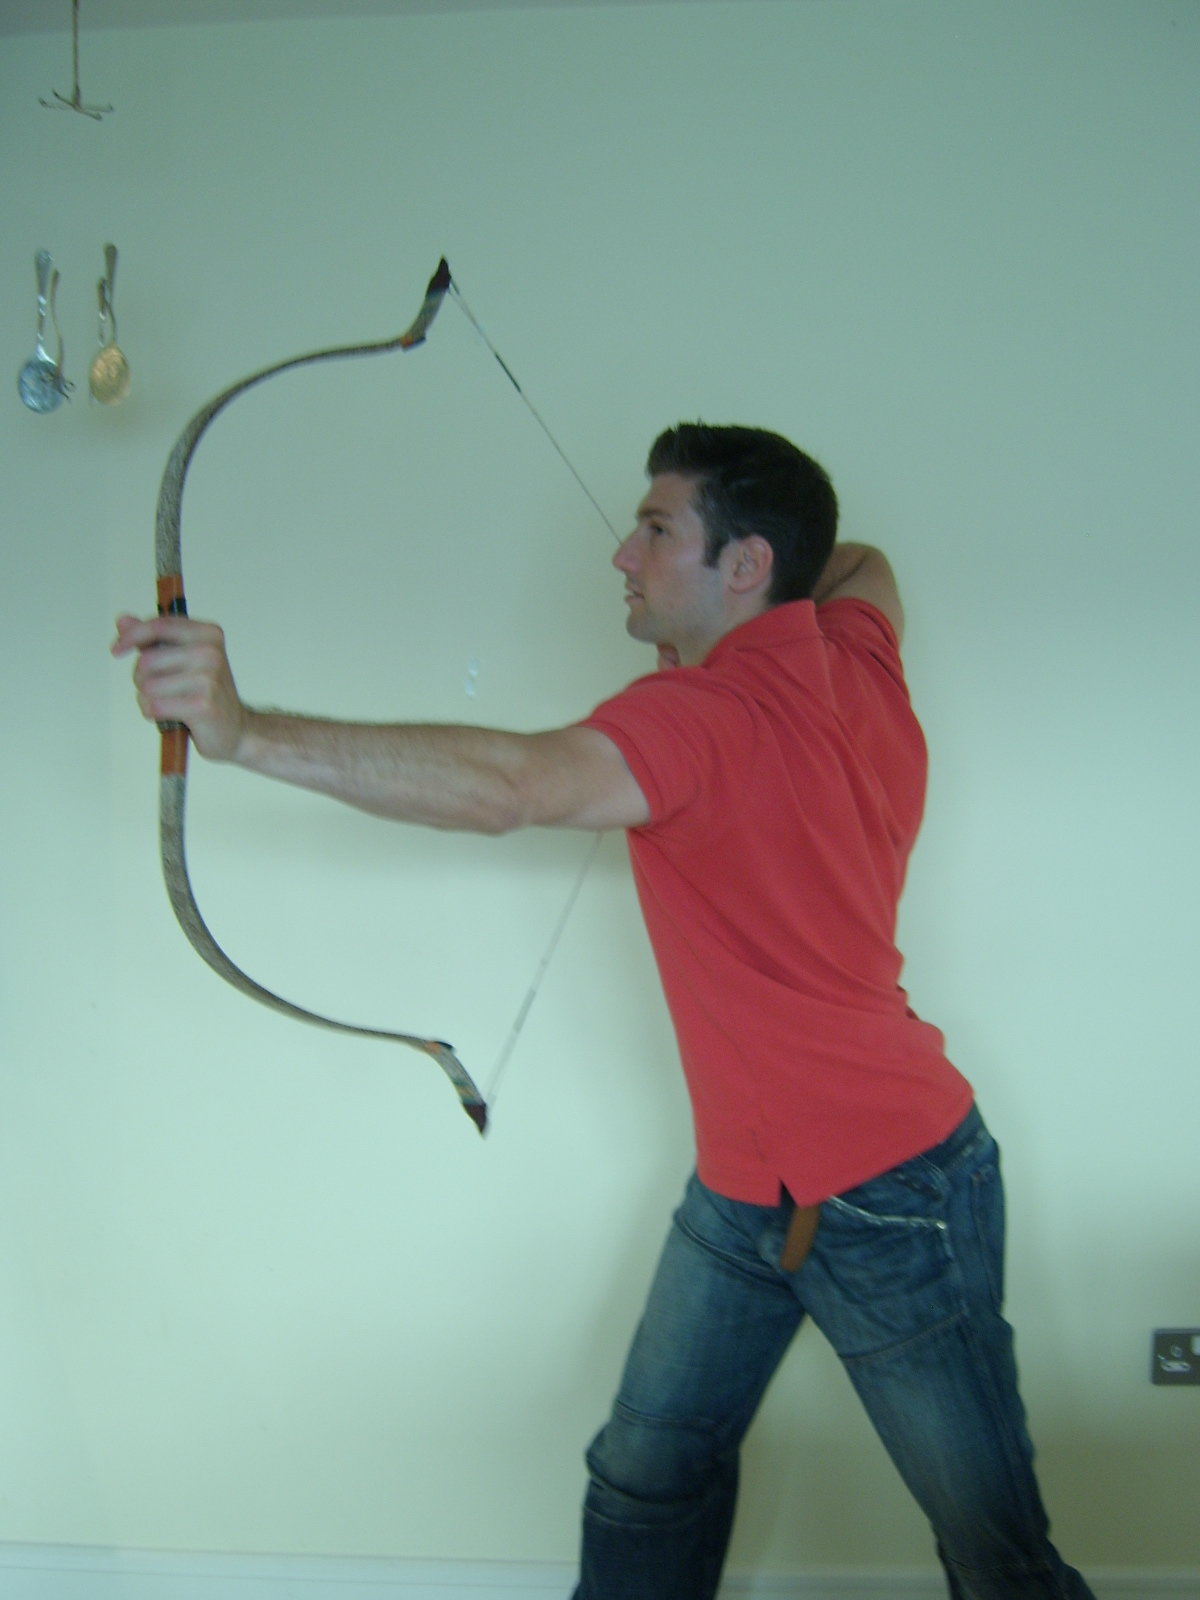
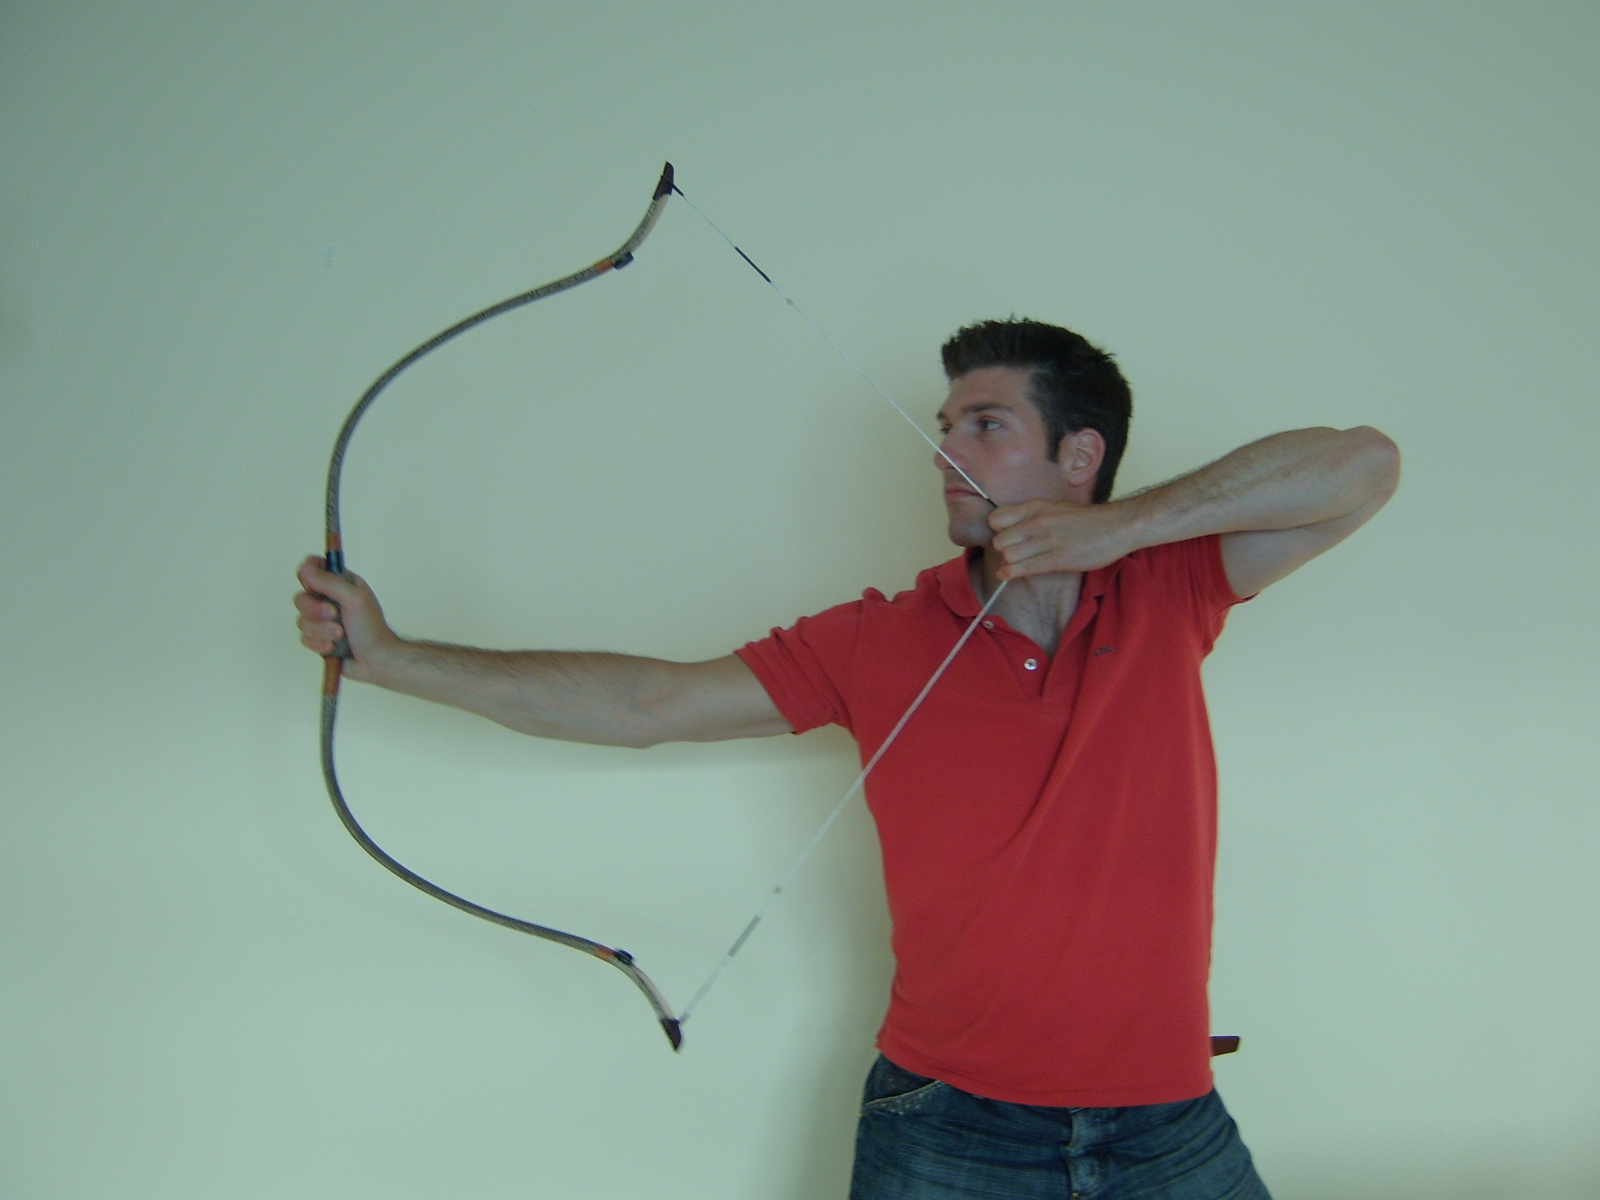
A release with the thumbdraw technique and the thumbring is cleaner, smoother and faster than a 2 or 3 finger European release. When done properly, the release can be compared to a modern mechanical compound bow release. Sir Ralph Payne Gallwey describes the advantages of a thumbdraw and thumbring in a similar way in his treatise which he wrote more than 100 years ago.
These thumbrings could be highly decorated as seen in these pictures and they could be permanently worn to distinguish oneself in Ottoman society as an elite archer. Note the ring on the thumb of Fatih Sultan Mehmed II, the Conqueror of Istanbul.

Fatih Sultan Mehmed II, the Conqueror


Ottoman thumbrings in Vienna,17th cc, jade

Tests show us that the same archer achieves more speed with the arrow if the archer uses a thumbring and thumb release compared to a 3 finger release. I see that a lot of European archers are very interested in this technique and the thumbring but they lack the knowledge to make one. You can buy some online but I have seen that these are more decoration than a functional thumbring. The best way to obtain a thumbring is to make one yourself. It has to fit perfectly, otherwise it will hurt you like a shoe that does not fit. You wouldn't order a shoe online would you?

So let me describe step by step how to make one. Be patient though, the first ones will be for the bin but will give you precious experience. This article will be about Ottoman thumbrings. This form of thumbring seems quite successful in history as the Persian, Mughal and Mongol thumbrings are very similar in shape. But even Ottoman thumbrings can differ in shape and size as you will see below.


Materials for a thumbring
The best materials for thumbrings are ivory, jade, agate, bone, or walruss ivory. Horn is inferior as the material is softer and the thumbring can deform after a while. Metals such as bronze or silver were used as well and once you have a good original it is easy to copy it. I do not advise antler.

Historic bronze thumbring and replica silver thumbrings

Nowadays it is hard to obtain ivory. For bows with drawweights of less than 70 lbs plexiglass can be used as well. We have had positive experience with a material called kestamid, which is a kind of polyamide. I lost my kestamid thumbring once and drove over it accidentally with the car; nothing happened, just minor scratches. I can use it for heavy bows of 90+ lbs draw weights. For an Ottoman type thumbring get a block with at least 4,5 x 3 x 2 cm (1,8 x 1,2 x 0,8 inch). This full block should be good quality.


Kestamid block

Making of a thumbring
First of all my special thanks and respect to Yıldırım Ekmekciler, a true thumbring master, who showed me patiently how to craft them. He made most of the thumbrings for the Turkish archery group in Turkey.


With a pen you can draw the simple outlines of the thumbring on the top and the sides. We will cut these parts to save time, rather than starting to file down the whole block. When you cut it, it should look similar to this.

Roughly cut kestamid block

Now you can drill a hole in the middle using a rather big drill bit. You can use the sides of the bit to make the hole a bit bigger but for now you can leave it small like in the picture.


Now use a tool like "Dremel". Use a rough bit that will let you give a more typical thumbring shape. You could use a normal file as well. Make the hole bigger now though be careful, leave it still much smaller than it would fit your thumb. The tricky part is now to make a fitting hole for your thumb. The hole is oval, it is not round. The ovalness is very slight though. In the end you should put it on, turn it 90 degrees and it should lock and fit comfortably. The thickness of the sides and back can be 2-5mm depending on the material and the style. The sides are not straight, they go a bit apart to fit the shape of the thumb, see picture.

Thumbring form

Work in turns a bit from the inside making the whole bigger, and a bit from the outside.


When you have done this, you can use a finer bit to give the final shape. Gradually use finer files/bits. When you are happy with the final shape you can polish it with another dremel bit and polishing paste until it is nice and shiny. Alternatively you can rub in on a carpet in circular movements, this takes a bit longer.


There is no notch by the way, the string rests on top of the ring as seen in the picture below. The thumbring should not be too tight.Otherwise the string will not have enough space to sit on the edge of the ring and will go off without control.

Position of string on the thumbring

Compare the two different Ottoman thumbring forms below. It is not really two types but two extremes and it shows how the angles can differ. The closer it is to type A the easier it can be to hold the lock in full draw. With type B the release can be cleaner as the string doesn't touch the ring again. With this type precious stones could be inserted as well as seen above without interfering with the string. An experienced archer can shoot both types with a clean release.

                                                  A                                                         B


Leather piece
To save the thumb when using heavy drawweights, an additional piece of leather could be glued to the inside of the thumbring as seen below on a museum thumbring. The leather is not used between the string and ring as stated wrongly in some literature. Instead it is placed between the string and thumb.


The size of your thumb changes according to weather conditions. In winter your thumbring might be too loose, in summer too tight. I recommend having at least 2 thumbrings e.g. one for winter, one for summer. An alternative solution is using a trapezoid or triangular piece of leather. You can pull the thinner side through the thumbring on your thumb until the thumbring fits tightly, as a secondary benefit the leather will protect you from the string like the conventional leather piece above.


As I warned you the first ones will be for the bin so start with cheap material. Rather than making a few at a time, make one and shoot with it for at least a week to see how it fits and if there is any mistakes. Making a thumbring will take 2-10 hours depending on experience, material and tools. Feel free to contact me if you need help or advice.

Gokmen
gokmenaltinkulp@gmail.com
http://turkishflightarchery.blogspot.com

Thursday 25 March 2010

Archery Exercises

Why archery exercises?
Different archery cultures like the Ottoman, Iranian or Chinese
describe archery exercises. Main reasons are:
-To prevent injuries,
-To pull your bow easier,
-Being able to use heavier bows,
-Being able to hold your bow steadier when aiming
-To create muscle memory to pull the bow always in the same manner to
the same anchor point with the same technique automatically
And besides it is great satisfaction after a successful training when
you sit down and drink your ‘keyif’ (relaxation) Turkish coffee.


Warming up
Warming up is very very important because what good is it if you
injure your muscle and stop all training for 6 months? Main pressure
points=injury points are the sinew at the ellbow and shoulders.
First warm up your whole body by e.g. jogging, skipping ropes, (or
shadderboxing) or gymnastics. Then you have to warm up and pump up
your relevant archery muscles. Like a butterfly that just left the
cocoon that is pumping air in its wings to make them stable you have
to allow your blood to flow in the relevant muscles. This will take a
while but it will make your whole body more stable and stronger.
You can start pulling a low poundage bow, do a few repetitions pause
for 2 mins then do a lot of repetitions. You see I do not give
numbers, everybody has to assess for him/herself what is low, medium,
a lot and maximum repetitions. The same with the term heavy bow and
low poundage bow.
Do a few sets of these until your muscles are burning. At this stage I
pull the string with my whole hand. You can use a piece of leather or
a sock to protect your hand. 


Then continue with the heavy bow. Pull the bow 1/3rd a few times,
pause for a minute, pull it half way a few times and pause again
(leave the blood enough time to travel up to your shoulders), then
pull successively until full drawlength. The technique has to be
right, you pull with your back muscles supported by the triceps of the
bow arm and by both shoulders. You do NOT use the biceps of your
pulling arm. I still see ‘experienced’ archers doing this mistake
pulling with the biceps. A friend can test this by touching your
biceps with a finger while you pull; it should be soft.

I advise to stand in front of a mirror so you can see and correct your 
technique and positions. Keep your ellbows high. Now you should be warm.

The best is to have several bows in dfferent poundages, you can
meet up as well with fellow archers as described in an Ottoman
training article. If you don't have other bows available you can bind 

elastic band around the bow as seen in the picture below. The draw 
weight is controlled by how many times you wrap the elastic around the bow.


1. Exercises with the bow
Basic pulling directions:

1. basic pulling to the left side horizontally

2. Pulling to the back horizontally (as far as possible)
3. Pulling to the right side horizontally (as far as possible)
4. Pulling to the front
5. bend upper body forward parallel to floor twist upper body up and
pull upwards (training for kabak shooting)

6. bend upper body forward parallel to floor and pull to the side
7. put the left fist on your left foot, keep your legs straight and

pull the bow downwards
8. Turn back and pull the bow down
9. Pull with other hand
10. Jarmaki pull


1. basic pulling to the side horizontally
2. Pulling to the back horizontally (as far as possible)


3. Pulling to the right side horizontally (as far as possible)

4. Pulling to the front

5. bend upper body forward parallel to floor twist upper body up and
pull upwards (training for kabak shooting)
6. bend upper body forward parallel to floor and pull to the side. 
7. put the left fist on your left foot, keep your legs straight and
pull the bow downwards
8. Turn back and pull the bow down
9. Pull with other hand
10. Jarmaki pull


Variations:
a) Pull the bow very slowly (variaton: pull it in 7 times and back in 7 times)
b) Pull the bow as quickly as possible one after the other
c) Pull the bow with the other hand (horsearchers used to be able to
shoot with right and left arm)
d) In order to simulate horseback riding, jump from one foot to the
other quickly doing the exercises or run while pulling if you have
space
e) while pulling go from one position/direction to the other e.g.
start pulling backwards then slowly turn after each pull and continue
pulling to the front then right

Horsearchers need to shoot in every direction, thus the different
directions above. Flightarchers just need a certain angle and dont
really need to shoot e.g.backwards or downwards.
Remember the bend should come from the hip, the ‘T’-position (=angle
between spine and shoulders) should be maintained at all times.

After a few sets doing 50% of your maximum repetitions start pulling
until exhaustion, have a longer pause e.g. 5 mins and continue
pulling until exhaustion. Do as many sets as you can/wish, the heavy
poundage-exhaustion sets should be at least 4. Be careful though as
your muscles get more tired the risk of injury increases.

At the shooting yard, you can do similar exercises (I would recommend
to do them at the end of the training):
-While the arrow is nocked, draw the bow 10 times before you shoot and
aim each time at the target
-The arrow nocked, pull the bow 15cm pause pull another 15 cm etc
until full drawlength then shoot.
-Pull the bow directly to full drawlenght and hold e.g. 10, 20 seconds
before you release the arrow (dont break the bow)

Training your thumb
You should train your thumb too as you will see that after a certain
poundage it will get more difficult to keep the thumb lock. You can do
the pulling exercises described above with a thumbring. Pulling the
string with a thumbring without a nocked arrow is not advised as the
dryfire risk is too high and the lock might slip on the string. The
old Turks used to have a special arrow with a hole near the nock. They
would put the string through the hole and then string the bow, so that
the arrow is locked with the string. In case the thumb lock releases
accidentally there wont be dryfire.
Instead of this method you can stand in front of a target with a
normal arrow nocked doing the same exercises.


2. Exercises without the bow
You can do additional weight training to train these muscles:
Deltoid (rear shoulder)

Trapezius (upper back)
Infraspinatus
Latissimus
Triceps
Neck

Do a second sport next to archery, many archery athletes in the
Ottoman Empire were wrestlers at the same time or e.g. went swimming
often.
Don't neglect your leg muscles, they are important to have a stable
position while aiming and of course for horseriding. Do sports that
will let you sweat so you won't get too stiff with all the muscle
training e.g. jogging, boxing, swimming, wrestling.


Diet
Of course you need proteins to build muscles, so low fat meat like
chicken, turkey, fish is fine. Dont forget the carbonhydrates though
and a lot of fresh vegetables and fruits and drink a lot.

Mixing honey and olive oil as a food supplement is advised in the old texts.
I tried it as well but my personal favourite is the Turkish ''Helva'', it is made 
of sesame and is very rich (http://en.wikipedia.org/wiki/Halva).
The exercises described above are not comparable to standard bodybuilding
in the gym; while doing few pulls with very high poundages, you also
pull medium to lower poundages until exhaustion. A historic
(horse)archer would need to use his muscles maybe for hours in the

battlefield. A Turkish flight archer would not shoot many arrows but still
they describe exercises with a lot of repetitions.

A typical training week
You should not use heavy bows and train until exhaustion every day but
only every second or even third day as it is hard training and your
body needs to recover. Monday Wednesday Friday can be the hard days
and the other days can be days where you do normal (horse)archery or
do other sports or train with low poundage bows with a lot of
repetitions. Even resting and doing nothing for a day is good
sometimes. But beware, you need to train regularly and disciplined; it
is written that the old Turkish archers said: if you leave archery one
day, archery will leave you 10 days. With proper training good results
can be achieved in a short time, but if the break is too long the drop
in performance will be huge and the risk of injury will increase.


Last tips at the end

Keep your muscles warm at all times, day and
night. Be careful when you are sleeping, don't sleep on your shoulder
or arm. A famous Turkish flight archer champion had guards standing
at his bed at night time just to prevent him from sleeping on his arm.

Gokmen
gokmenaltinkulp@gmail.com